


How to Extend a Disk on Windows Server (Disk Management & DiskPart)
Extend the C: drive on a Windows Server 2019/2022 VDS after a disk upgrade. Both GUI (Disk Management) and PowerShell/DiskPart commands.
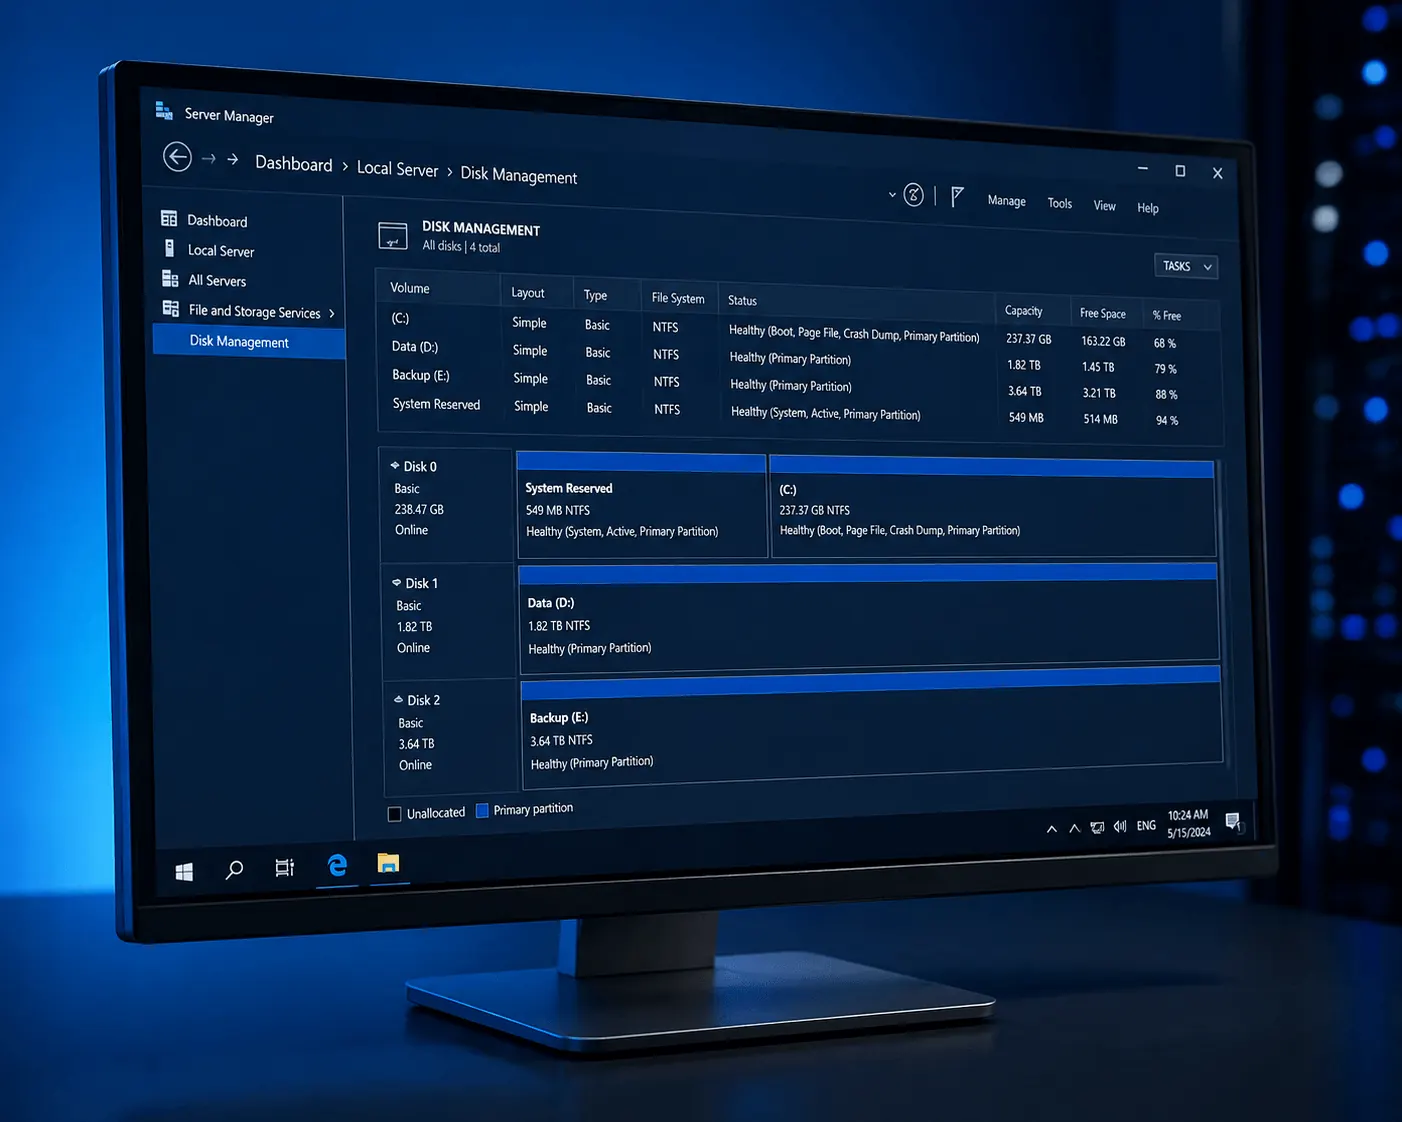
You upgraded the disk on your Windows Server VDS in the KavesNET panel, but C: still shows the old size? The new space is sitting unallocated — a few clicks away. This guide shows both GUI (Disk Management) and PowerShell (DiskPart) methods.
First: backup
Always take a backup/snapshot before disk operations. The KavesNET panel offers snapshots.
Method 1: Disk Management (GUI) — easy way
1. Rescan disks
Win + R → diskmgmt.msc → Enter
From the top menu: Action → Rescan Disks
2. Find the unallocated space
To the right of C: you’ll see new space marked “Unallocated”. If not, rescan again.
3. Extend the C: drive
Right-click C: → Extend Volume…
Wizard:
- Next → select all unallocated → Next → Finish
C: grows to its new size in seconds. No reboot needed, no downtime.
Method 2: DiskPart (CLI) — if no RDP
1. Open PowerShell as administrator
diskpart2. List and select disk
list disk
select disk 0
list partition
3. Select partition and extend
select partition 2     # C: partition (usually 2 or 3)
extend
exit
extend uses all free space. For a specific size: extend size=10240 (10 GB in MB).
Modern PowerShell (cleaner)
Instead of DiskPart:
# Add unallocated to C:
$MaxSize = (Get-PartitionSupportedSize -DriveLetter C).SizeMax
Resize-Partition -DriveLetter C -Size $MaxSize
One line. Scriptable and safer.
Adding a new disk (alternative)
To add a new disk as D: instead of growing C::
- Open Disk Management
- New disk shows as Offline → right-click → Online
- Right-click → Initialize Disk → choose GPT
- Right-click unallocated → New Simple Volume → wizard:
- Drive letter: D:
- Filesystem: NTFS
- Allocation unit: Default
- Quick format
Common errors
- “Extend Volume” greyed out:
- Unallocated space isn’t immediately to the right of C: (another partition is in between — must delete it first)
- Disk is MBR and C: is already 2 TB — needs to be converted to GPT
- “Cannot extend a non-NTFS partition”: For ReFS/FAT32, use 3rd-party tools (AOMEI, EaseUS)
- New space doesn’t appear at all: Disk wasn’t actually grown on hypervisor side — open a KavesNET ticket
- Server’s recovery partition behind C:: Delete that partition first (after backup)
Doing it remotely (no RDP)
If you can’t RDP, open a VNC console from the KavesNET panel and run PowerShell there.
Performance tip
When C: fills, Windows slows down — keep 20 GB+ free especially for Windows Update. A Task Scheduler rule for disk alerts:
# Email if C: > 85%
$threshold = 85
$disk = Get-PSDrive C
$used = [math]::Round((($disk.Used / ($disk.Used + $disk.Free)) * 100), 1)
if ($used -gt $threshold) {
    Send-MailMessage -To "admin@example.com" -From "vds@kaves.net" `
        -Subject "Disk full alert: $used%" -SmtpServer "smtp.example.com"
}
For scheduling: see our Cron / Scheduled Task post.
Conclusion
Windows disk extension is a 2-minute job — Disk Management or one PowerShell line. After a KavesNET disk upgrade, you can do it immediately.
Related: Linux Disk Extension · Server Backups
Related Posts
You might also like these.

What Is NVMe SSD? Its Impact on Server Performance (vs SATA SSD)
What is NVMe, and how does it differ from SATA SSD? IOPS, latency, and real-world numbers showing why NVMe is now the server standard.
Read More
What Is a Dedicated Server? Who Actually Needs One?
What is a dedicated server, how does it differ from a VDS, and when is it a must? Advantages, costs, and the co-location alternative — all in this guide.
Read More
VDS Rental Guide: 10 Criteria to Check Before You Order
From CPU model to disk type, DDoS protection to backups — the 10 criteria to verify before renting a VDS, explained one by one. Don't pick the wrong plan.
Read More